The goal isn’t to make AI chat with you faster. It’s to hand off a complete task and get back something you can actually use.
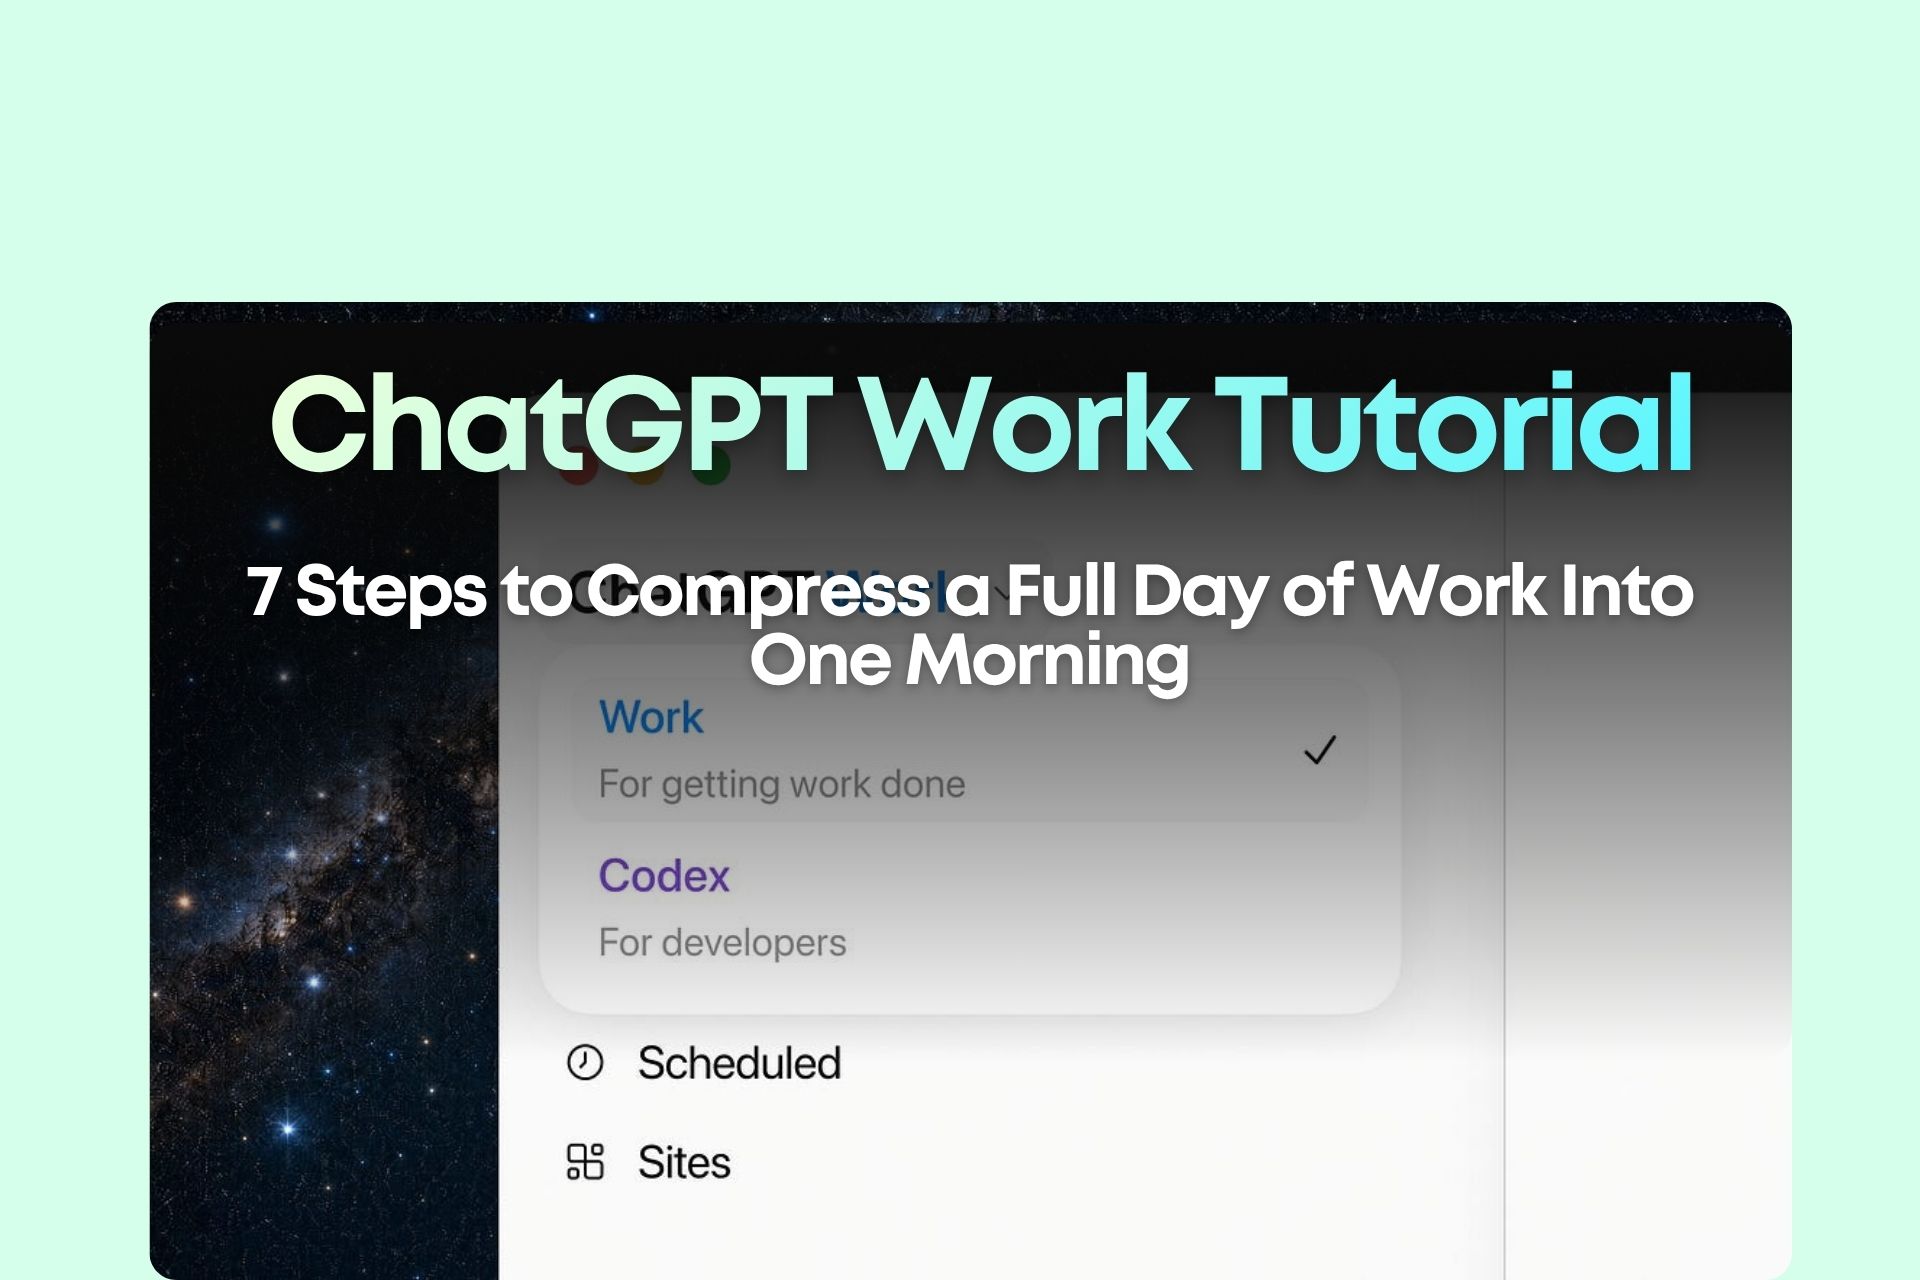
This walkthrough starts with setup on Sunday night and moves into execution on Monday morning: creating a Project, connecting Gmail, setting up Scheduled Tasks, building a custom tone Skill, analyzing Excel data, creating a dashboard Site, and using Computer Use to handle legacy files.
At the end, the same analysis is turned into an Excel file, a PowerPoint, a written brief, and a web page—all from the same Project context.
Below is the complete workflow, organized so you can follow it step by step.
Before You Start: How Much Can You Do on the Free Plan?
It’s worth clearing this up first. Otherwise, you may get halfway through the tutorial and wonder why certain controls are missing from your account.
For this walkthrough:
- Steps 1–4 can be completed on the Free plan
- Publishing a Site in Step 5 requires Plus or above
- Free and Go users in Work are fixed on Terra
- That means Free and Go users don’t need to worry about choosing Model, Effort, or Speed
- Those additional controls are available to paid users
So if you’re on the Free plan and you don’t see the model dropdown shown in the video, you haven’t missed anything.
You didn’t choose the wrong setting—you simply don’t need to choose one.
For paid accounts, this walkthrough uses Terra + medium + standard as a practical day-to-day setup, balancing capability, speed, and usage.
Step 1: Create a Project Instead of Scattering Business Data Across Multiple Chats
Why Not Start by Typing a Prompt?
A lot of people say:
“ChatGPT doesn’t remember what I told it before.”
But sometimes the real problem is that your own information is scattered across multiple chats.
In this workflow, we start by creating:
Sarah Online Course Project
Then we add the relevant folder to the Project so future Excel files, analyses, email drafts, and other outputs stay inside one working environment.
Follow These Steps
- Download the practice Sarah-OnlineCourse folder
- Open Projects in the Desktop App
- Create a New Project
- Enter Sarah Online Course as the Project Name
- Select Add folders ChatGPT can read and edit
- Add the folder you just downloaded
- Create the Project
Where the Time Saving Really Comes From
The benefit isn’t simply that opening a folder becomes faster.
The real benefit is that after you finish the June sales analysis, you can ask Work to build a dashboard or create another deliverable using the same Project context.
You don’t have to explain the business from scratch every single time.
Think of it this way:
One Project = one long-term workspace, not one disposable chat.
Step 2: Connect Gmail and Set Up Two Scheduled Tasks That Run Automatically
The best tasks to automate with AI usually aren’t the things you do once a year.
They’re the things you repeat every day or every week.
Start by going to:
Plugins → Gmail → Install → OAuth login
Once Gmail is connected, go to Scheduled and create two tasks.
Scheduled Task 1: Organize Your Inbox Every Day at 6 AM
You can use this prompt directly:
@Gmail Scan my unread emails daily at 6 AM, categorize them as customer inquiries / internal notifications / promos / spam, and draft 3 response plans for important ones.
Every morning at 6 AM, it can automatically:
- Scan unread emails
- Categorize them
- Identify important messages
- Draft possible response plans in advance
Scheduled Task 2: Prepare a Weekly Brief Every Friday
Prompt:
@Gmail Every Friday at 8 am, we pull the weekly sales report, update the dashboard, and draft the weekly team brief email.
Once you’re done, go back to the Scheduled page and confirm that both tasks were actually created.
This is the important mindset shift:
Instead of remembering to ask ChatGPT to do something on Friday, you set it up so the work starts happening before Friday even arrives.
The tutorial uses a daily 6:00 AM task and a Friday 8:00 AM task to show how the same Scheduled feature can handle different recurring workflows.
Remember @ and /: Two Symbols Are Enough to Start Chaining Workflows
There are two symbols worth remembering inside Work.
@ = Plugin
For example:
@Gmail
/ = Skill
For example:
/my-tone-email
The useful part is that you can combine them.
For example:
@Gmail draft 3 replies using the tone from /my-tone-email.
That means Work can pull context from Gmail while also applying a custom writing style you’ve already defined.
This is where it starts feeling like a real workflow instead of reopening ChatGPT and rewriting the same long prompt every time.
Step 3: Build Your Own Email Tone Skill With One Prompt
One of the biggest problems with AI-written email isn’t grammar.
It’s that you can tell immediately that it doesn’t sound like you.
You might get lines like:
“Dear valued customer...”
If you would never write that yourself, then every AI draft still needs manual editing.
That reduces the time saving.
So Sarah creates a Skill called:
my-tone-email
How to Create It
Go to:
Plugins → Skills → +
Then use a prompt like this:
Build a skill called "my-tone-email" for me. This skill will automatically trigger every time I use the Gmail plugin to draft an email, or when I type "Reply to this email with my tone". The goal is to make the drafted email sound exactly like my normal tone, not like corporate jargon.
Work may then ask you a few questions, such as:
- What does your normal tone sound like?
- When should this Skill trigger?
- Are there words or phrases you dislike?
- How long are your emails usually?
- How do you normally open and close emails?
Once the Skill is ready, test it with:
Use /my-tone-email skill to draft 3 emails for me:
① Welcome to the new Solopreneur Starter cohort (20 students) starting next Monday
② Podcast pitch – inviting me to be a guest and share my one-person AI workflow
③ Testimonial request – from Emily Wong, a student who graduated last month
The important part isn’t these three emails.
It’s that you’re turning a preference you would normally explain again and again into a reusable Skill.
The best thing to turn into a Skill usually isn’t a single prompt. It’s a repeatable way you want AI to work.
Step 4: Analyze Excel—But Tell AI What the Final Deliverable Should Be
This step teaches one of the most useful prompt principles in the entire workflow.
Imagine you upload June-Sales.xlsx and only say:
Analyze last month’s sales for me.
AI may analyze the data correctly.
But the result might only be a long block of text.
Then you still have to open Excel, add a new tab, move information over, and format it yourself.
The Problem Isn’t That AI Isn’t Powerful Enough
The problem is that you never told it:
“What should the finished deliverable look like?”
So instead, use:
@June-Sales.xlsx Analyzing last month's sales and comparing them with May, we identified the top 3 performing courses and 3 red flags. Add a new tab in the spreadsheet, name it “June vs May Comparison”, save the analysis inside.
You can reuse the same structure for other tasks:
Data source + what to analyze + what insights to identify + what final artifact to create
For example:
Analyze the sales data → compare it with last month → identify the top 3 performers and 3 red flags → add a new Excel tab → save the results there.
In the demonstration, the first attempt only asked for sales analysis and produced a text summary. Once the prompt clearly specified the final artifact, the result became a new June vs May Comparison tab inside the spreadsheet.
This rule applies to almost any AI workflow:
Don’t just say “help me do this.” Tell AI what you want to receive when the work is finished.
Step 5: Turn Excel Data Into a Dashboard Site Your Client Can Open
This is where the first paid requirement appears.
The first four steps can be done on the Free plan. Publishing a Site requires Plus or above.
After the analysis is finished, stay inside the same Project chat and enter:
@Sites Build an interactive sales dashboard site using the same data, with filters, charts, and course search functionality.
Work will first create a Preview.
Important:
Preview ≠ Published
The Preview is still a draft.
You need to click Publish before you get a URL you can actually share.
The difference looks like this.
Before:
Excel → Screenshot → WhatsApp → Data changes → New Screenshot
After:
Data → Dashboard → Send Link
⚠️ The Most Important Privacy Warning for Sites
Do not skip this part.
Sites do not have password protection.
A new Site is not automatically public to the entire internet. But if you change the access setting to “Anyone on the Internet,” it becomes publicly accessible.
That means you should avoid putting sensitive information on a public dashboard.
Before publishing, check for:
- Real customer names
- Banking or payment information
- Unannounced pricing
- Internal cost figures
- Anything else that should remain private
A simple test is:
If a stranger saw this dashboard tomorrow, would I be comfortable with it?
If the answer is no, don’t publish it as a public Site.
Step 6: Computer Use Isn’t Really About “Making an Excel File”—It’s About Operating Interfaces for You
Sarah also has a Sarah-Legacy folder containing six old CSV files.
Doing this manually would mean:
Open file → copy → open workbook → paste → rename tab...
Then repeat the process six times.
In the demonstration, the prompt is:
@Computer Open the @Sarah-Legacy folder, consolidate the 6 CSV files inside into an Excel workbook. Create a tab for each CSV file, with the tab name matching the file name. Then save it as Sarah-Legacy-Master.xlsx and store it in the Sarah-OnlineCourse project.
The final goal is:
6 CSV files → 1 Excel workbook → 6 tabs → automatic tab names → saved back into the Project
But Why Use Computer Use?
Because simply merging CSV files doesn’t necessarily require Computer Use.
The more important point is that it can operate interfaces that would normally require someone to click through them manually.
For example:
- Legacy systems with no API
- Internal desktop software
- Tasks that require logging in
- Workflows that require clicking through menus
- Admin work involving forms, downloads, or file movement
So the better question isn’t:
“Can Computer Use work with Excel?”
It’s:
“Do I have a task where the biggest waste of time comes from repeatedly clicking through interfaces?”
If yes, that’s the kind of workflow worth testing.
Which Approval Mode Should You Use?
The demonstration shows three levels.
Ask for approval
Work pauses before more sensitive actions. This is the safest starting point for beginners or sensitive workflows.
Approve for me
Routine actions can move more smoothly, while higher-risk actions still require confirmation.
Full access
Requires the least intervention, but also carries the highest risk.
If you’re new to Computer Use, start with Ask for approval. Once you understand how your workflow behaves, you can gradually loosen the restrictions.
Step 7: The Real Payoff—One Prompt, Four Different Deliverables
By the end of the workflow, Sarah already has the same June vs May analysis.
But four different audiences need four different outputs:
- Excel: an internal Q3 action plan
- PowerPoint: a client-facing version
- Written brief: something for the team or email
- Site: an updated client dashboard
Previously, that might mean:
Open Excel → Open PowerPoint → Open Word → Open a website tool
Instead, you can issue one job from inside the same Project:
Using the 'June vs May' analysis from this morning, please generate four items for me at once:
- An Excel file with an added tab named 'Q3 Action Plan', outlining how to scale the top 3 courses for next quarter.
- A 5-slide PowerPoint, client-facing version, excluding internal cost figures.
- A written brief, under 300 words, using the /my-tone-email tone.
- Update this morning's site to include a Q3 plan page.
Save all four items into the 'Sarah-OnlineCourse' project.
The most valuable lesson here isn’t simply “generate four things at once.”
It’s that you’re changing the way you frame an AI task.
Instead of:
“Write something for me.”
You move toward:
“Here’s the business objective, here are the audiences, here are the deliverables—complete the job.”
That’s why this is the main payoff of the workflow: one analysis is transformed into multiple formats for multiple audiences using the same Project context.
A chatbot gives you answers. A real AI workflow should give you deliverables you can keep using.
5 Practical Pro Tips Before You Start Using Work Long Term
1. Use /status to Keep an Eye on Usage
Before starting a long Project, check your remaining usage.
You don’t want to reach the most important part of the workflow only to discover that you’re close to your limit.
Generating multiple artifacts at once can also consume more resources than a simple chat.
2. Don’t Use the Heaviest Settings for Every Task
Daily emails, translations, and simple rewrites don’t require the same level of processing as a major strategic analysis.
If you’re on a paid plan, choose settings based on task complexity instead of automatically selecting the most powerful option every time.
3. Turn Repeated Preferences Into Skills
If you’ve copied the same instruction three or four times, such as:
“Don’t use corporate jargon.”
“Keep my normal email tone.”
“Always start with an executive summary.”
That instruction may be worth turning into a Skill.
4. If a Thread Gets Too Long, Ask Work to Compact It
As a long-term Project grows, the amount of context can become large.
You can ask Work to compact the thread, keeping the most important context while summarizing the rest, instead of restarting the entire Project.
5. Before Automating, Ask: “Which Part Is the Most Mechanical?”
Not every task should be automated.
Look first for work that is:
High-frequency + rule-based + repetitive + low-value for a human to perform
For example:
- Inbox organization
- Categorization
- File movement
- Repetitive reporting
These tasks usually produce a clearer ROI than trying to “automate the whole business” from day one.
How to Apply This: The Minimum Version You Can Build Tonight
If you don’t want to set up all seven steps at once, start with a 30-minute MVP workflow.
Step 1: Pick One Task You Definitely Repeat Every Week
For example:
- Create a weekly sales report
- Organize your inbox
- Write customer follow-ups
- Prepare a content performance report
Step 2: Put the Relevant Information Into One Project
Stop scattering the work across multiple chats.
Step 3: Define the Final Artifact Clearly
Don’t say:
Analyze the sales for me.
Say:
Analyze the sales, identify the top 3 performers and 3 red flags, then add the results to a new Excel tab.
Step 4: Identify the Repeating Part
Ask yourself:
“What instruction am I going to repeat again next week?”
That may be worth turning into a Skill or Scheduled Task.
Step 5: Automate Last
Run the workflow manually at least once first.
Make sure:
- The output is correct
- The permissions are correct
- Important files are not being changed incorrectly
Then consider Scheduled Tasks or Computer Use.
This order is usually more reliable than trying to make everything fully automatic from the beginning:
Make it work → make it reliable → then automate it.
Final Takeaway: Reduce Handoffs, Not Just Prompts
For a solopreneur, the most expensive resource usually isn’t a software subscription.
It’s your attention.
If you’re still switching constantly between Gmail, Excel, PowerPoint, browsers, folders, and a dozen open tabs, then even if AI saves you two minutes per prompt, your overall workflow can still feel fragmented.
The biggest opportunity with ChatGPT Work is changing the question from:
“Which step can AI help me with?”
to:
“Can I hand off the entire outcome?”
Use Projects to centralize context. Use Scheduled Tasks for recurring work. Use Skills to preserve the way you work. Ask for actual artifacts when analyzing Excel. Use Sites to turn data into shareable dashboards. Use Computer Use for repetitive interface work. Then reuse the same context to create multiple deliverables.
You don’t have to use all seven parts on day one.
Tonight, choose one task you know you’ll have to do again next week and run it through this workflow once.
When the second run no longer starts from zero, that’s when you begin to see the compounding value of an AI workflow.
⚠️ Before You Start
Sites do not have password protection. If you choose “Anyone on the Internet,” do not include real customer names, banking information, or other sensitive business data.
The first four steps can be followed on the Free plan. Publishing a Site in Step 5 requires Plus or above.
Free and Go users do not need to choose a model. Work uses Terra by default, so if you don’t see the Model, Effort, or Speed dropdown shown in the video, that does not mean your account is configured incorrectly.
ChatGPT Work and Sites are also evolving quickly, so the exact interface, feature availability, and option names may differ from what you see in the video. Follow the controls currently available in your account.